A website’s success depends on its product images. Your customers can’t touch your products so you need to make them look better online. Retouchers and photographers have many techniques that can make your products stand out.
This article will show you how to edit your product images for your eCommerce website. You’ll also get valuable advice from professionals on how to make your images sell faster.
Let’s get started!
11 Ways to Edit Your Product Images for Your eCommerce Website
Tips to Edit Your Product Images for eCommerce Website
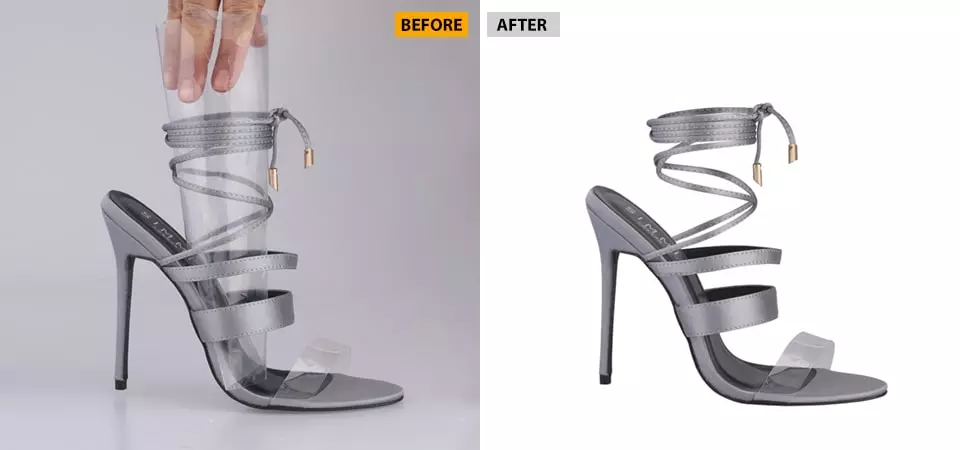
#1. Always remove the background first
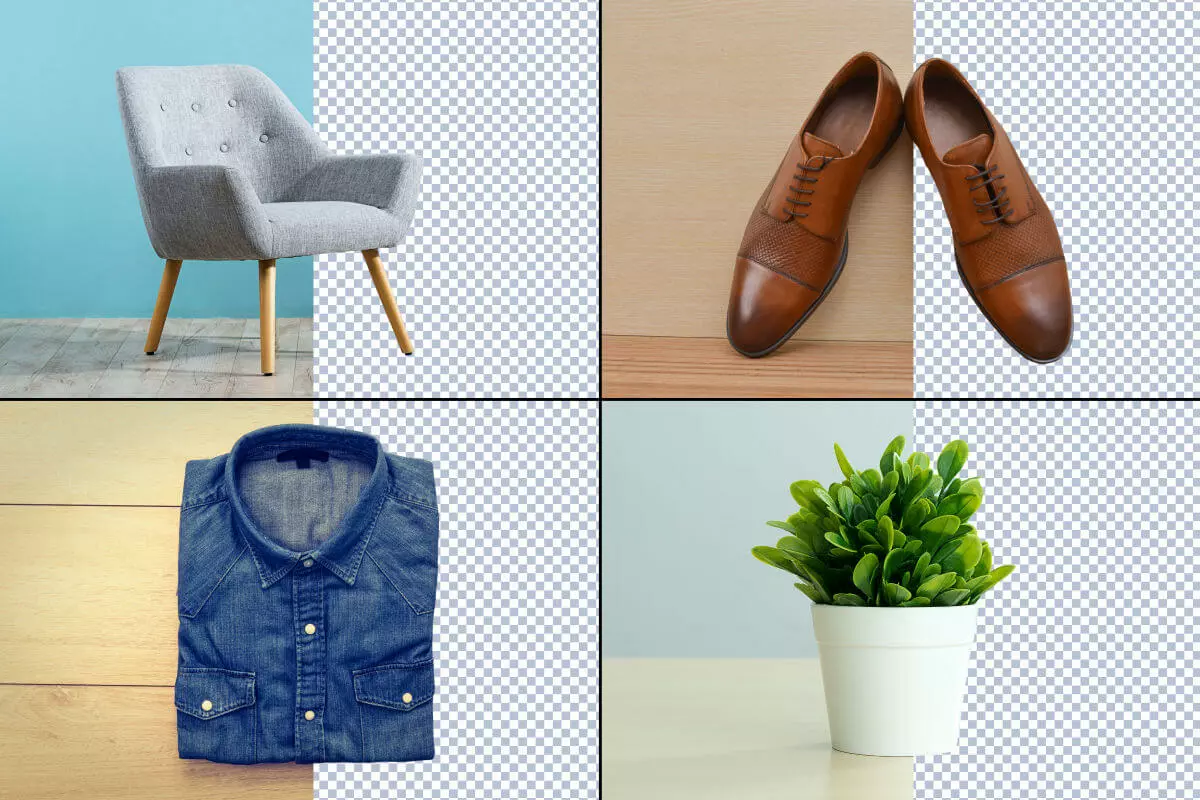
Remove backgroundYou must remove the background to focus attention on the goods. This is the most important part of how to edit eCommerce product images for the website. You can easily make use of photo editing software to remove background from photos. Thus, what are the main benefits of removing background? This allows you to focus on the product and use another simple background that is more suitable for your product.
Furthermore, you will be able to alter the color and remove hair, or threads, after background removal. This process will significantly reduce the file size of your website/product pages, allowing them to load quicker. Professionals that specialize in eCommerce photo editing recommend using Photoshop and various other photo editing software for beginners to remove backgrounds smoothly and easily.
#2. Add natural shadows
Add natural shadows for the product imagesIt is always a good idea to add some space to product photos, especially if you want to edit product images for eCommerce. For example, you can create realistic shadows. Normally, there are three types of shadows: natural shadow, drop shadow, and reflection.
An item that is in direct sunlight will cast natural shadows. This shadowing effect is very easy to achieve. Drop shadows are created by directing sunlight down onto the item. This effect is most commonly used for shoes. It also works well for furniture as it allows to visualize the furniture in their home. Reflection shadows can be used to create dramatic effects on reflective surfaces. These shadows can be a good way to highlight jewelry, sunglasses, watches, and other goods that are in a showcase.
#3. Crop and straighten
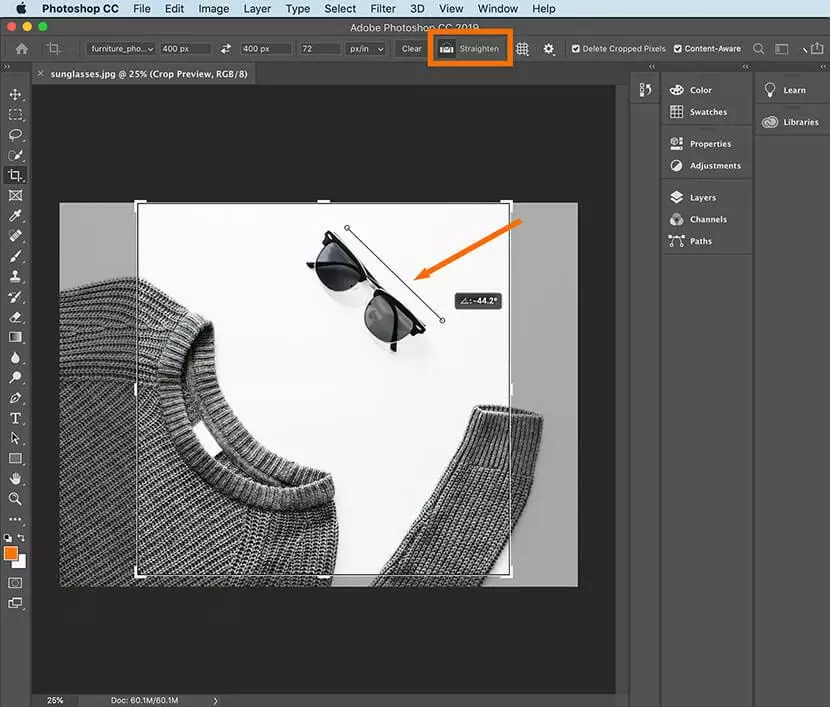
Crop and straighten your product imagesWithout cropping, it is difficult to make product images for eCommerce look appealing. A DSLR camera can capture a larger image to be used on Amazon and other online marketplaces. You should use a cropping tool to keep product pages consistent in size and shape. If photos of identical goods are together, it will look chaotic.
Customers will be able to see every detail of the product if it occupies more space than a background. Plus, the item should be in the middle of your frame.
#4. Make a slight color correction
Make a slight color correctionYou need to assure the photos are accurate to real-life colors.This will give your product photography a more realistic look. Definitely, customers expect the product to look exactly as they see it in the photo when they make a purchase. Customers are more likely to be disappointed and return the products they have ordered.
The truth is that these situations can be caused by inconsistent lighting or incorrect camera settings. It is difficult to capture neon colors in a photograph so post-production is necessary. You can actually improve the colors by changing the saturation and hue of the object. Experts in eCommerce photo editing recommend using contrast to bring out the highlights and darken those in the darkest areas.
Increase the exposure to make an image appear brighter. The opposite is true. If you reduce the exposure, your photo will become darker. To achieve the same effect, you can use highlights and shadows. You can preserve more details and make them stand out by changing the clarity and sharpness.
#5. Batch photo editing
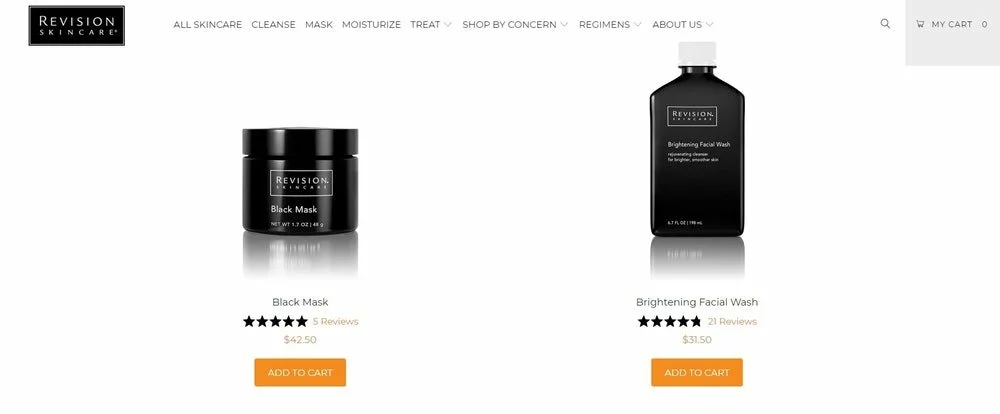
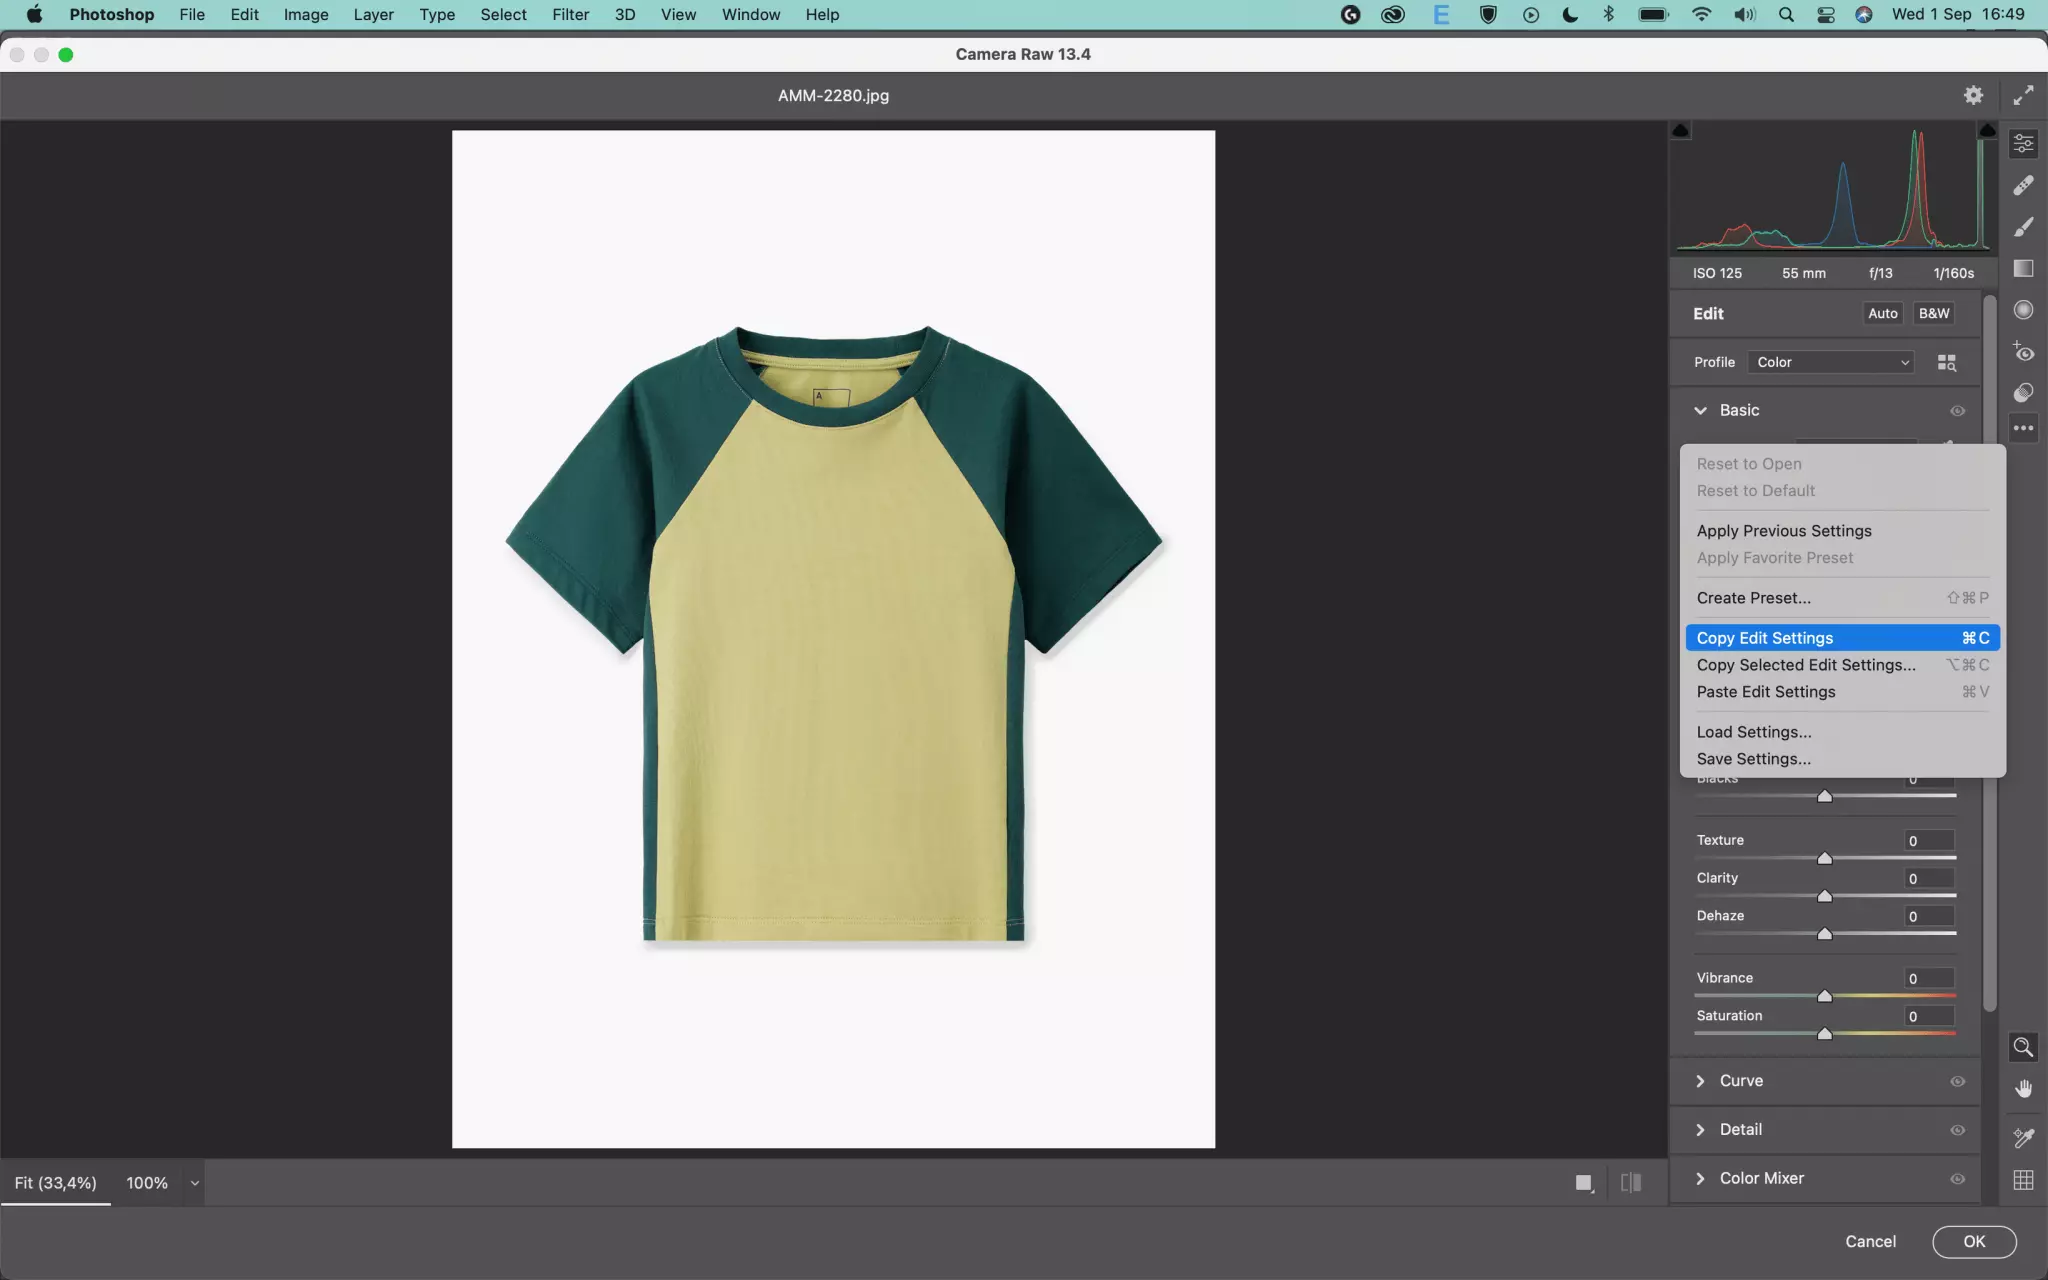
Batch Photo EditingObviously, image consistency is key to ensuring a successful eCommerce site and increasing sales.This will improve the user experience and make it easier for them to make a decision. Professional photo editor online recommend using several tools to ensure consistency. To batch edit product images for eCommerce, you can use popular programs such as Lightroom or Photoshop. You can adjust many parameters such as white balance, color, and exposure.
These settings can be applied to multiple images to create a consistent look. You can automate this process by using Photoshop actions. All steps are recorded and then applied to other images. Batch processing is also possible in Lightroom. Lightroom supports batch processing. This allows you to apply the same adjustments to a number of photos at once and speeds up photo editing.
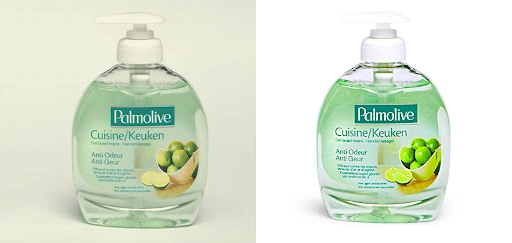
#6. Photo recoloring
Photo RecoloringIf there is only one difference between the products, you can take a picture of one and then color it using photo-editing software.However, the colors must be bright and not flashy. You can adjust the hue toggle in the adjustment layers to get the color you want. Also, remember to adjust the saturation toggle to correct overly saturated colors.
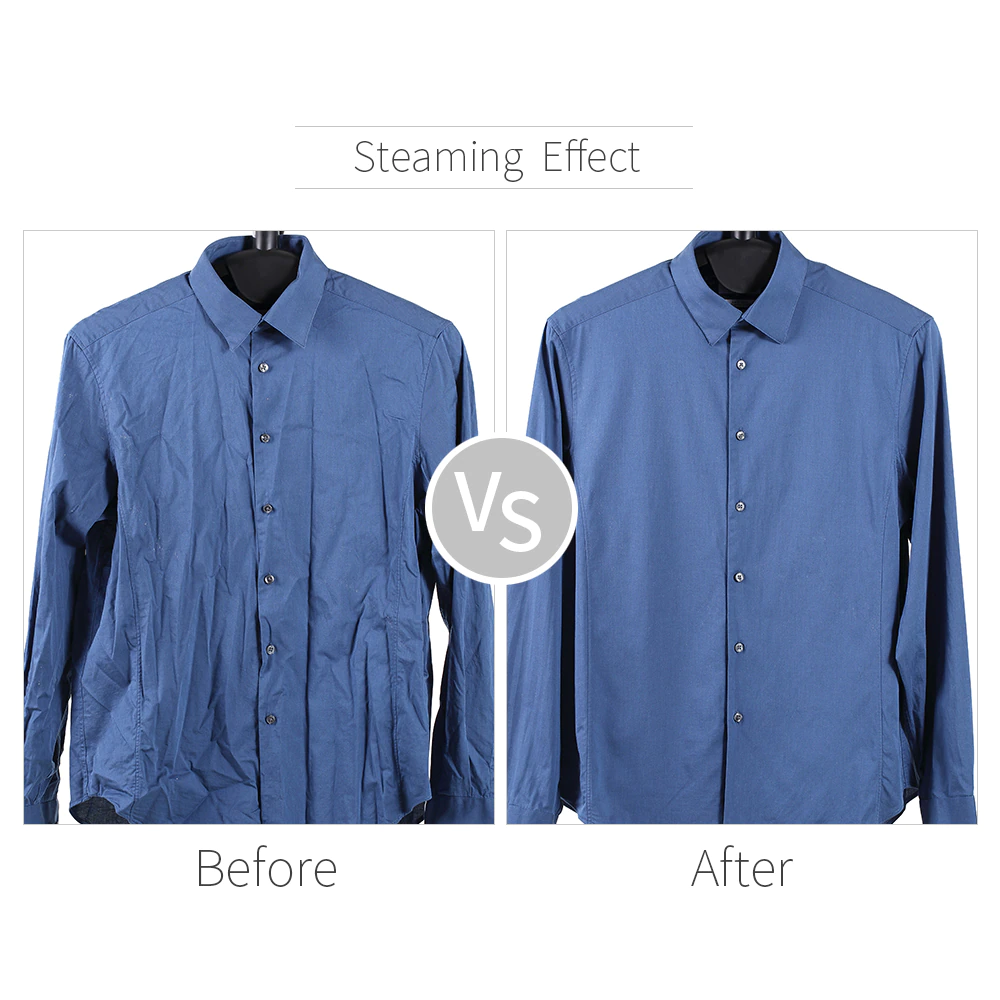
#7. Restructure the product
Restructure PhotosYou can improve the product’s visual perception by reshaping it. Sometimes you can ruin the composition while photographing, which can lead to a change in the overall impression of the images. Professionals recommend that you use the Liquify Tool in Photoshop to edit product photos. Fortunately, you can move or pull pixels without losing quality and achieve perfect symmetry with this method.
#8. If you don’t have the time, outsource your editing to experts
Outsource photo editingSometimes outsourcing product photo editing tasks can be a great idea.You can contact a professional product retouching service to save a lot of time and get great results. In fact, there are many things to do when working on an eCommerce site. It is easy to get distracted by all the details. Luckily, specialists can handle every little detail, such as removing hair or dust from your photos. Moreover, they know what the market image requirements are and will create a more appealing product image. Most professional photo editing services are quite affordable.
You can find talented and experienced professionals if you need to outsource post-production. Also, you can view their work samples, review customer reviews, and check out their portfolios. It is better to hire someone or a company that specializes in photo editing services and tells them what you expect. After that, they will provide you with the photos that have been retouched and are ready to be posted.
#9. Spot retouching
Spot RetouchingYou may notice unexpected hair and dust on product photos if you use a high-quality camera. It is a good idea to clean the items before you start shooting. Similar situations may occur in the background. Indeed, photo retouching can remove any blemishes or small spots, as well as loose threads. Photoshop has many options, such as the following:
Spot Healing Brush allows you to remove spots from a photo.
The Clone Stamp Tool works in the same way as the Spot Healing Brush but is more sophisticated than the Spot Healing Brush.
The Patch tool allows you to remove unwanted objects and spots from a photograph. To remove unwanted spots from a photo, you will need to take a small sample.
#10. Remove mannequins for a professional look
Remove mannequins to show a professional lookAlthough sellers use mannequins to enhance product photos, they can distract the eye and make them look less professional. To enhance product images, professionals often use a ghost mannequin effect. This is a common technique when editing pictures for eCommerce.
Take a series of photos of the product on a model/mannequin, then take out the model or mannequin in post-production. The product will now be the focal point of the photo. Photoshop makes it easy to achieve this effect. Select a piece of clothing and reverse the selection. You should remove the background then. Sometimes you may need to combine multiple photos. This is often combined with the 360-degree photo editing technique.
#11. Optimize your photos
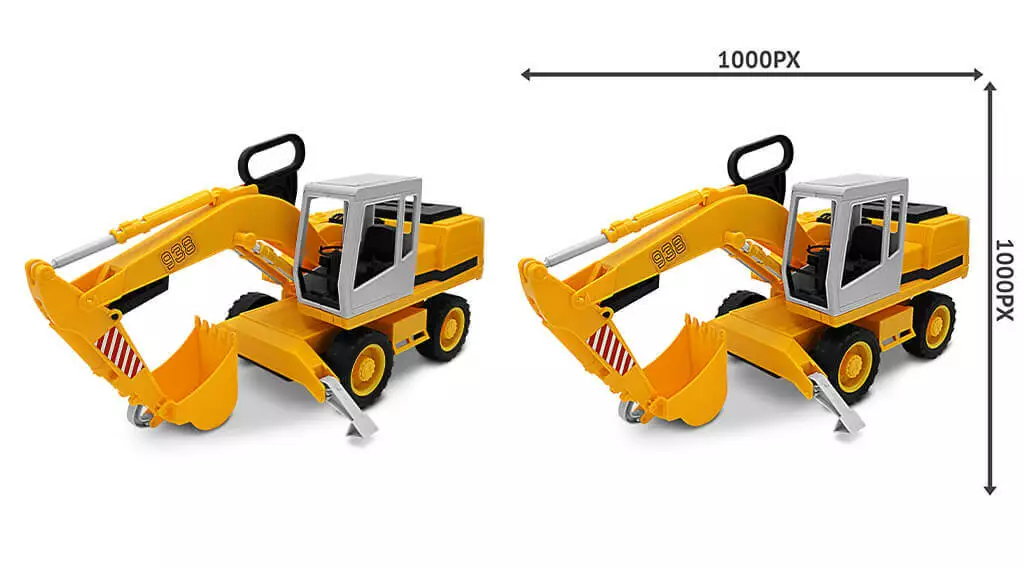
Optimize your product imagesEditing product images for eCommerce allows you to correct defects and optimize them for your store.Uploading large files is not a good idea. You can reduce the site’s load times by resizing and changing the resolution. You should also check the requirements of any eCommerce platform with which you will be working.
Images are typically adjusted in pixels. For example, 500×400. An ideal resolution for an online shop is 72 pixels per in. The size of the images should not exceed 600-800 pixels. As they are both in the same menu, you can adjust the resolution and resize the images simultaneously. You should not alter the aspect ratio of your images during eCommerce photo editing. This could cause your images to look stretched or squashed. The rest of the parameters will be automatically changed if you set the height and width. You can get rid of redundant image files later using MS Windows or Mac cleaning software if you do not want to delete the drive clutter manually.
Product Images Editing Tips for eCommerce Websites: FAQs
How to Edit Product Pictures for your eCommerce Websites in 2022?
#1. Always remove the background first
#2. Add natural shadows
#3. Crop and straighten
#4. Make a slight color correction
#5. Batch photo editing
#6. Photo recoloring
#7. Restructure the product
#8. If you don’t have the time, outsource your editing to experts
#9. Spot retouching
#10. Remove mannequins for a professional look
#11. Optimize your photos
Which image format is best for ecommerce website?
JPGs or JPEGs format will be useful if you want images that load quickly. Meanwhile, PNG format is used when you want quality images. But in most cases, JPEGs will be better when it comes to eCommerce websites. For the smallest file size, they offer the finest quality.
What should I use to edit a product photo?
The top application for product photography is Adobe Lightroom. It is a simple tool, having sliders and presets to let you create images that appear the way you want. If you intend to edit photos on your computer, Lightroom is a good choice as well.
Conclusion: Multichannel retailing is the best solution to thrive your business
To conclude, this practice allows products to be offered via multiple channels such as eCommerce sites and traditional offline stores. LitCommerce provides easy and convenient solutions for international eCommerce businesses. This allows you to expand quickly and seamlessly.
Amazon integrations and LitCommerce – the multi-channel solution can help you sell more effectively and better. Besides, Etsy, eBay, or Facebook integrations offer bulk product uploads, real-time notifications, easy order management, inventory synchronization, and many other features. LitCommerce – The ultimate multi-channel selling solution – will help you to build a stronger online presence and generate more leads.
For more information, please don’t hesitate to contact our 14/7 support team to resolve your concerns.
Finally, let’s join our Facebook Community for further eCommerce tips and news. Take home the crown!
Jessie Le is an E-Commerce Writer with over 5 years of experience in the industry. Renowned for sharing invaluable eCommerce platform insights and business strategies on LitCommerce. Jessie is dedicated to empowering sellers to excel in the digital marketplace.
🍪 Ready to add some flavor to your browsing? Our site uses cookies for a sprinkle of personalization, ads with a dash of fun, and to keep our traffic flowing smoothly. By clicking "Accept All", you consent to our use of cookies.
Functional
Always active
The technical storage or access is strictly necessary for the legitimate purpose of enabling the use of a specific service explicitly requested by the subscriber or user, or for the sole purpose of carrying out the transmission of a communication over an electronic communications network.
Preferences
The technical storage or access is necessary for the legitimate purpose of storing preferences that are not requested by the subscriber or user.
Statistics
The technical storage or access that is used exclusively for statistical purposes.The technical storage or access that is used exclusively for anonymous statistical purposes. Without a subpoena, voluntary compliance on the part of your Internet Service Provider, or additional records from a third party, information stored or retrieved for this purpose alone cannot usually be used to identify you.
Marketing
The technical storage or access is required to create user profiles to send advertising, or to track the user on a website or across several websites for similar marketing purposes.