Are you looking for an easy and quick Shopify Import Products process? Importing products with CSV files is one of the quickest and easiest ways to get your store up and running in just a few minutes. Whether you’re switching from another platform, dealing with a large inventory, or just need a simple bulk import solution, using a CSV file makes everything faster and more efficient.
This guide will show you how to import products into Shopify with CSV files. Also, you can discover:
- Top 3 tools to import products to Shopify;
- Some common Shopify CSV import errors;
- Tips for successful Shopify import products.
Let’s get into it!
Simplify Your Shopify Product Imports
Tired of manual product uploads? With LitCommerce’s Shopify Product Feed Management Tool, you can seamlessly import products in bulk, saving time and reducing errors.
Step-by-Step Guide to Shopify Import Products
Whether you’re a new seller or migrating from another platform, importing products to Shopify is straightforward when you know the right steps. Here are four step-by-step guides from Shopify data import preparation to import products to Shopify.
Step 1: Download Shopify Sample CSV File
The first step is to click Shopify’s sample CSV file to download files. This template is pre-formatted with the necessary fields, making entering your product information easy.
Then, delete the sample so it doesn’t mix up with your actual items.

Step 2: Fill your product data in CSV File
In this step, two fields are mandatory for the Shopify import products process that help Shopify recognize and create the products correctly:
- Handle: This is a unique identifier for each product. It is used in the product’s URL and must be unique across your store.
- Title: This represents the product’s name and is essential for display purposes.
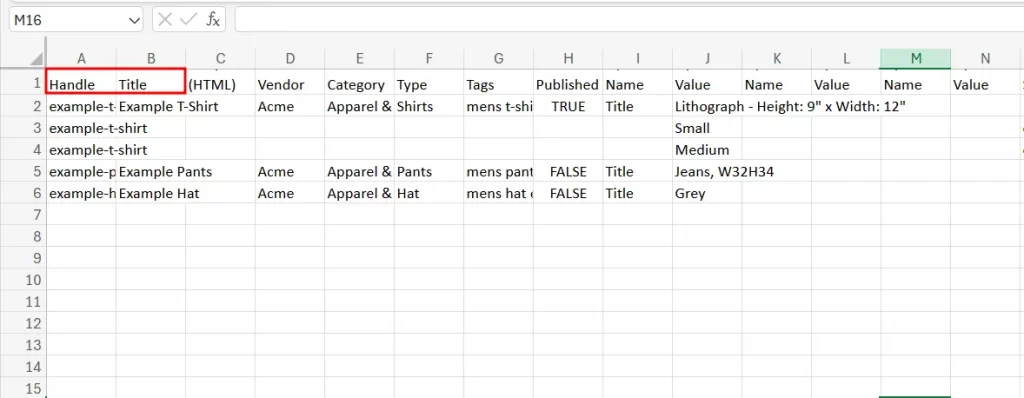
Although Handle and Title fields are essential, including other additional recommended fields can also improve your product listings.
Here are some necessary columns that need to be filled in in the Shopify CSV File. If they are left blank or omitted from the CSV file, a default value will be generated for these required columns.
Product | Customers & orders |
1. Handle 2. Title 3. Body (HTML) 4. Vendor 5. Product category 6. Type 7. Tags 8. Published 9. Option1 Name , Option1 Value,.. 10. Variant SKU/Grams 11. Variant Inventory Tracker/Qty /Policy 12. Image Src/Position/Alt Text 13. Variant Fulfillment Service/Price/Requires 14. Shipping/Taxable/Barcode 15. Gift Card 16. SEO Title/Description 17. Google Product Category/Google Shopping 18. Metafields 19. Status 20. Variant Image/Weight Unit/Tax Code | 1. First Name 2. Last Name 3. Email 4. Address1, Address2 5. City 6. Province, Province Code 7. Country 8. Zip 9. Phone 10. Accepts Email Marketing/SMS Marketing 11. Total Spent/Total Orders 12. Tags 13. Note 14. Tax Exempt |
Notes: In the Shopify import products process, you need to ensure the data is placed under the correct column headers so the platform knows where to assign each piece of information. Moving or deleting the column can cause an error during the importing process.
Step 3: Formatting Your Shopify CSV File
After entering the details, please ensure the file is formatted correctly so Shopify can read it accurately. Here are two requirements that your files need to meet:
- The first line of your product CSV file must be the column headers as specified in the product CSV description table.
- A comma must separate each column.

Step 4: Import Products to Shopify
Once your CSV file is prepared, you can begin the import process.
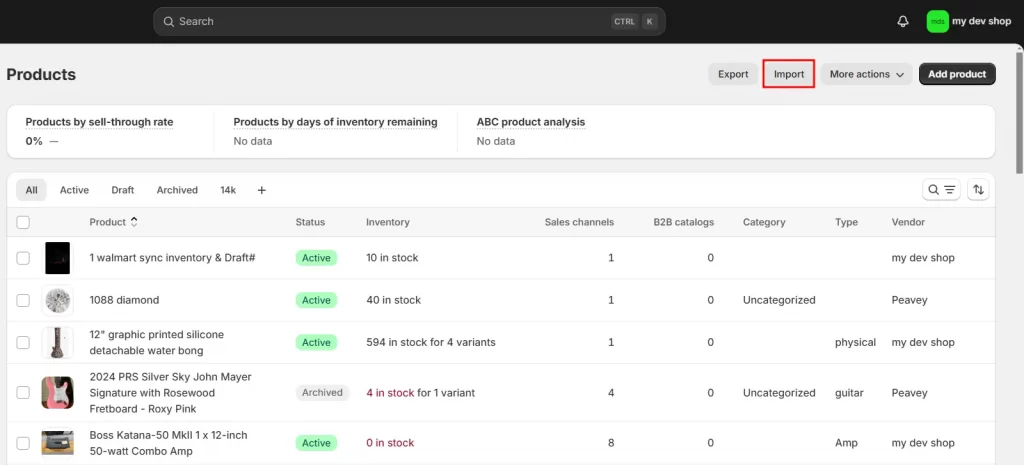
From your Shopify admin, go to Products on the left sidebar.

Then, click Import.
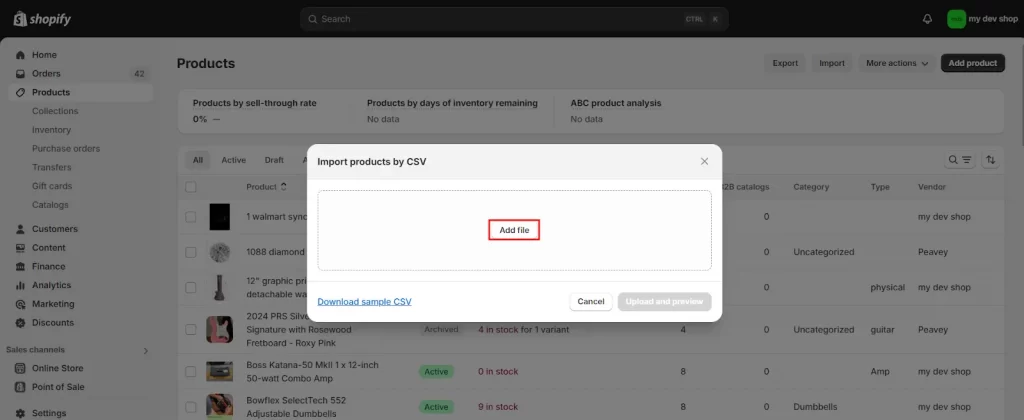
Click Add file, then select the CSV file you want to import.
Choose Upload and review to continue.
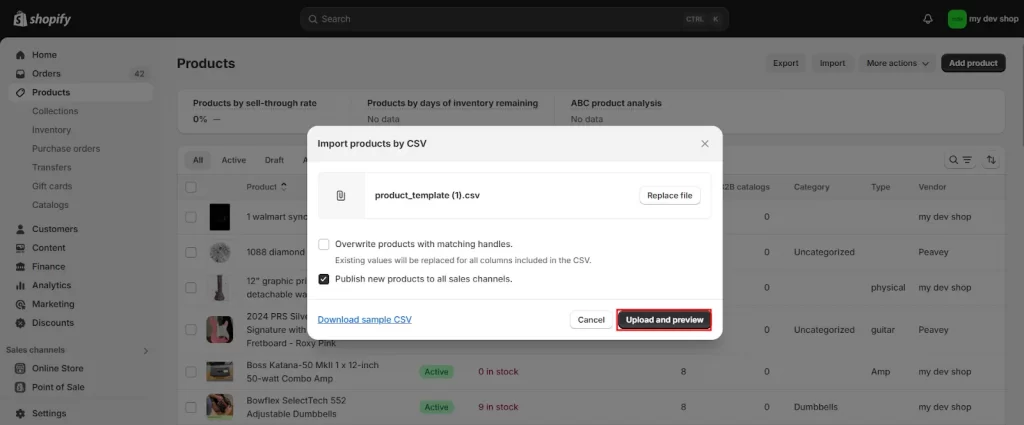
To continue, let’s review the details about the import and then click Import products.
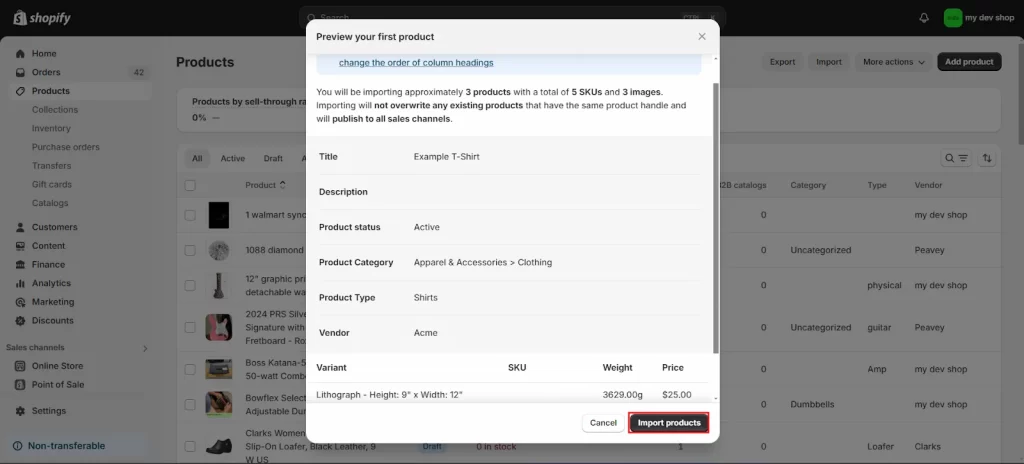
After your CSV file is uploaded, you will receive a confirmation email from Shopify using the email account to set up your Shopify store.
Start Listing on Shopify and Other Platforms to Increase Sales!
With the LitCommerce feed management tool, you can smoothly list your products on 300+ platforms with smart templates, advanced filtering, and smart rules & quality check.
Top 4 Tools to Import Products to Shopify
When managing a large Shopify inventory, manually importing products can be time-consuming. That’s why we need a specialized tool to streamline the importing process and help avoid any errors occurring.
After many days of investigating and comparing, we chose the best import Shopify product tool for sellers. Below are the top 4 best Shopify import products tools when questioning how to import products to Shopify!
1. BulkFlow
BulkFlow is a smart data management tool that helps you import, edit, and export Shopify store data with ease. It supports multiple file formats, such as CSV, Excel, Google Sheets, and FTP, making bulk product import, inventory updates, and data exports fast, accurate, and hassle-free.
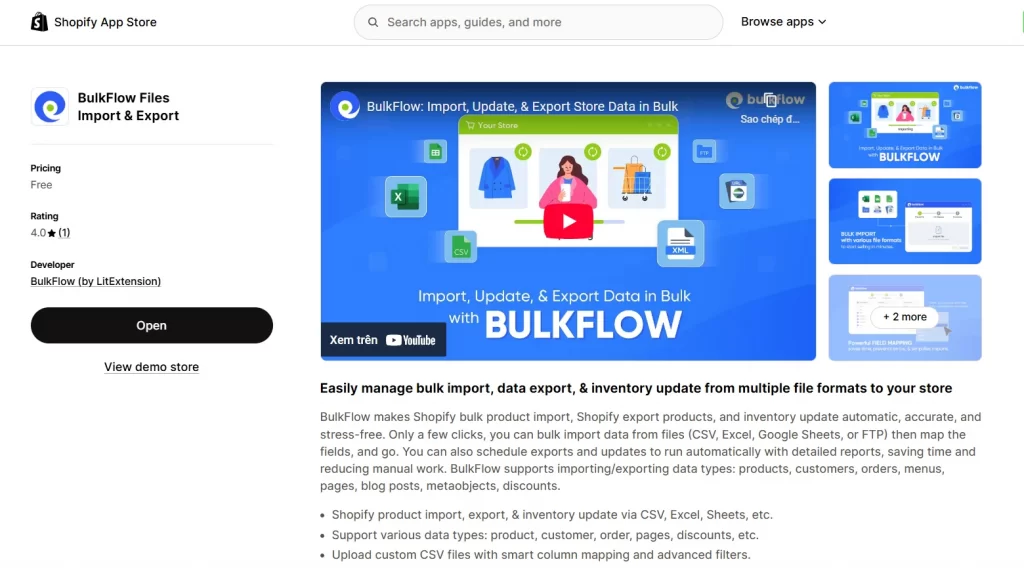
Features
- Import and export Shopify data from CSV, Excel, Google Sheets, or FTP
- Bulk import/export of products, customers, orders, pages, blogs, menus, metaobjects, and discounts
- Upload custom CSVs with smart column mapping and filters
- Automate Shopify inventory updates to prevent stockouts
- Schedule exports and updates with detailed reporting
Pricing
- Free plan
- Monthly: $49/month
- Annual: $470/year (Save 20%)
2. Matrixify
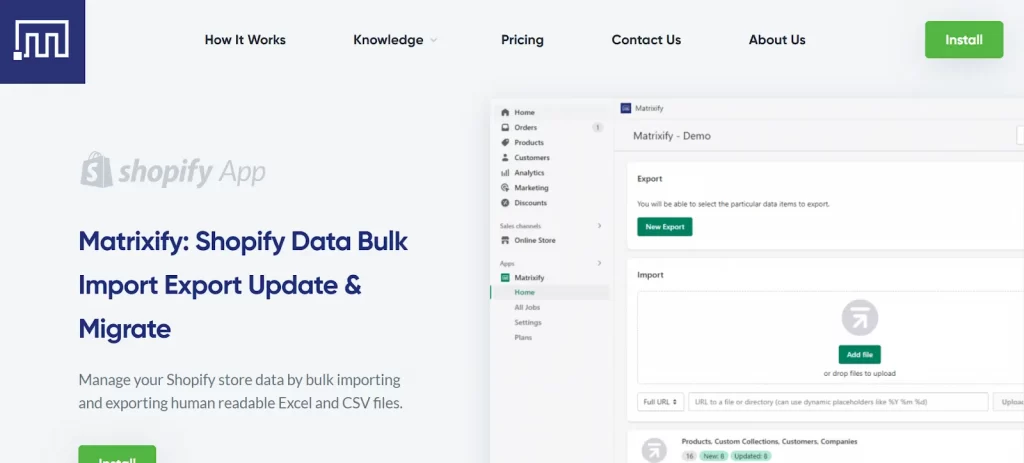
Matrixify is a powerful tool for managing store data, allowing for Shopify bulk import products, exports, updates, and migrations to Shopify. Known initially as Excelify, it significantly enhances Shopify’s native capabilities, making it an essential tool for eCommerce businesses that handle large amounts of data.
Features
- Bulk import and export Shopify data with Excel, CSV, or Google Sheets template;
- Update your existing store data in bulk;
- Migrate store data from your current eCommerce platform to Shopify;
- Data backup and restore;
- Scheduling imports/exports.
Pricing
- Demo: Free
- Basic: $20/month
- Big: $50/month
- Enterprise: $200/month
3. AutoDS
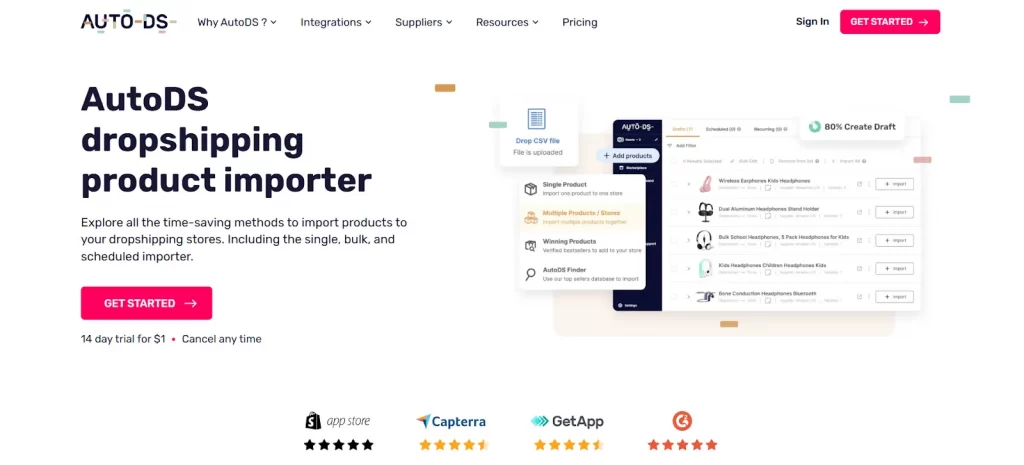
AutoDS is an all-in-one dropshipping tool designed to simplify the product import process for Shopify store owners. It allows users to import products using various methods, such as single, bulk, and scheduled importers.
Features
- Import products individually or in bulk;
- Schedule imports and set profit margins automatically;
- Provide the AutoDS Helper Chrome extension for sellers;
- Optimize product listing such as SEO, page loading, keywords, etc.
Pricing
- Free
- Import: $19.90/month (start from $1)
- Starter: $39.90/month
- Advanced: $66.9/month
4. Robo Product Importer
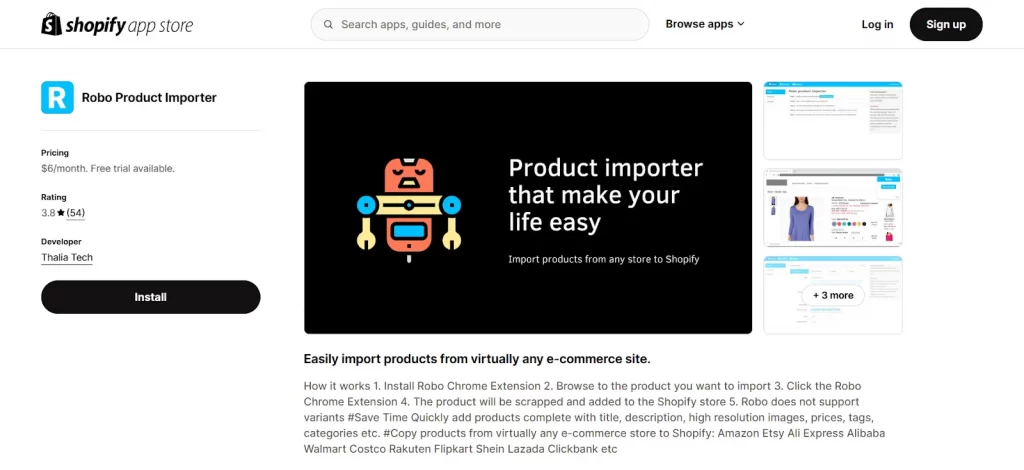
Robo Product Importer is a Chrome extension designed to facilitate the importation of products from various online stores directly into Shopify. This tool allows users to import products from numerous eCommerce platforms, including Amazon, AliExpress, Etsy, Walmart, and more.
Features
- Provide product import Chrome extension;
- Import unlimited products;
- Product verification before finalizing the import;
- Captures complete product listings, including titles, descriptions, images, and prices.
Pricing
Basic plan: $6/month
Some Common Shopify CSV Import Errors
Even with careful preparation, you may need help with importing your CSV file. Here are some common issues and how to fix them:
- Invalid handles: Ensure the first line of your CSV contains the correct headers, including Handle, Title, and others as needed. Each product handle must be unique and formatted correctly. Ensure no spaces or special characters are used.
- Missing required fields: Check that all mandatory fields, like product title and price, are filled in. Missing data may result in an unsuccessful import.
- Invalid image URLs: Ensure your image URLs are correct and accessible. If an image fails to load, try hosting it on a different platform. The image URL has to have http:// in front of it. It also has to be a publicly accessible direct link to the image.
- Duplicate SKU: If a product has a duplicate SKU (e.g., two variants labeled “medium” in “black”), it will cause this error. Ensure all option values are unique within each product.
- Missing inventory policy: The inventory policy must be set to ‘deny’ or ‘continue’. If this field is blank, it will lead to an import failure.
By being aware of these common errors and following best practices when preparing your CSV file, you can significantly reduce the likelihood of encountering issues during your Shopify import products process.
Tips For Successful Shopify Import Products
Importing products into Shopify can be straightforward if you prepare your data correctly. Here are essential tips that help you enhance the accuracy and effectiveness of your Shopify product imports:
1. Prepare a clean and correct data format
Before importing data into Shopify, thorough data cleaning is essential. This involves reviewing your spreadsheet for inconsistencies, empty cells, or formatting errors. Additionally, ensure all text is properly capitalized, remove extra spaces or line breaks, and standardize date formats.
2. Follow strictly image requirements
If you import images, verify that all image URLs are publicly accessible and not protected behind logins or firewalls. Image filenames should be simple and descriptive, using only letters, numbers, and hyphens (e.g., blue-cotton-shirt-001.jpg rather than “Blue Cotton Shirt #1 (Front View).jpg”).
Shopify accepts JPG, PNG, and GIF formats, with JPG being preferred for product photos due to its balanced quality and file size.
3. Audit post-import and backup data

After importing products, review your listings to ensure everything appears correctly. For SEO optimization, check if your descriptions are optimized for search engines. Incorporate relevant keywords naturally to improve visibility in search results.
One important note is to back up your existing product data before performing bulk imports. This provides a safety net if something goes wrong during the import process.
How to Import Products to Shopify: FAQs
A CSV (Comma-Separated Values) file for Shopify is a standard format used to import or export product data, customer information, orders, and more into or out of your Shopify store. This file organizes data in rows and columns, with each row representing an individual item or entry (like a product) and each column holding specific details about that item (such as title, price, SKU, and inventory levels). From your Shopify admin, go to Products. From the Products page, click Add Product. Enter a title for your product and any additional details you want to add. Click Save. Several apps on the Shopify App Store can help you import products into your store quickly and efficiently, such as Matrixify, Auto DS, or Robo Product Importer. These tools allow many import methods and help simplify the product import process for Shopify store owners. The file size limit is 15MB for products and inventory and 1MB for customer data when importing content via a CSV file. If your CSV files exceed these limits, you’ll need to split and import the data in smaller batches.
Wrap up!
Shopify import products process is straightforward and can be done efficiently through various methods such as CSV files, dropshipping apps, or third-party migration tools. Whether importing bulk products, migrating from another platform, or adding items manually, Shopify offers flexible options to suit your needs. This blog post guides you through 4 steps to import products to Shopify.
Also, don’t forget to follow our Blog and join our community to catch up with the latest eCommerce trends with seller tips. Our LitCommerce Retailers Blog already shares all the needed online store strategies! If you have more questions, contact us soon for extra details.


